The Free Grocery Shop: Delicious Foraging

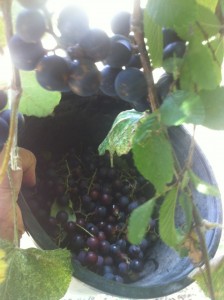
Harvesting Wild Grapes at River Legacy Park, Arlington, Tx

There’s free food everywhere.

Beginning in April through May we begin to see the first flushes of mulberries in Central Texas. As May goes into full swing, we may see loquats if there was a calm winter. Peaches and figs also begin to ripen into May through July depending on the varieties and the weather. In mid through late summer, grapes are growing on the vine, and sometimes they’re climbing all over the trees that were just listed.

Disclaimer
Don’t just eat anything. If there’s any doubt, don’t eat it and ask an expert.


Go Wild
So why forage? It’s the most local you can get, the only energy input required is harvesting, it’s good for you health and the best out of it all is the fun.

There are huge amounts of energy that is pumped into our food today; fertilizer, pesticides, packaging, transportation, storage, and cooking. Eliminating the waste involved in this system requires thoughtful alternatives that can continue to provide the luxuries in our lives. Gardening in your neighborhood and supporting local agriculture (less than 100-150 miles away) are common solutions. Foraging is another and the easier out of the other two.

Gardening requires tools, resources, labor, the knowledge, and the guts. Land can be  limiting factor, but I find it’s most often the knowledge on where to start. The guts are the emotions to know that it may not be successful or it may die from negligence or poor planning. It happens, and I’ve found myself and others disappointed from a deep emotional investment into a garden.

Supporting local agriculture is another great alternative system. The downside at this moment is the high cost of local. Being closer to an urban area results in a higher cost of living and a higher cost for goods and services. Although local organic food is the best, some people can’t afford the luxury.

Foraging on the other hand only requires time and knowledge. We have to go somewhere to buy food (unless you grow everything) and everybody needs time to relax and enjoy a breath of fresh air. A stroll through any park or neighborhood will result in finding an edible plant. It’s possible to eat as you go; although, in some cases, you may have to prepare the harvest to make it more palatable.

The only limiting factor is the knowledge and patience. A few good books that I’ve enjoyed are The Forager’s Harvest and Nature’s Garden by Samuel Thayer. Peterson’s Field Guide also has a field guide for edible plants as well as wild and medicinal herbs.

Wait a Second
Before you venture out and start eating plants in your neighborhood, it’s wise to know the area that you’re foraging from and the plant. This is where the patience comes in. If you notice a neighbor or fellow citizen with a dog or cat, you want to avoid eating anything close to the sidewalk or on a trail. You never know where they’ve done their business. Once you’ve found a plant you think is edible, double and triple check it; then cross reference with similar plants until you are 100% sure you know what it is. Don’t rely on what you think.

Like anything for the first time, don’t overindulge. It’s possible to be allergic to particular items and it’s good to be careful as well if you’ve misidentified a plant. As with anything, be careful and happy foraging. If possible, find someone around you that knows a few things about wild edibles.

It’s Good for You
In the fewest words, these plants are packed with healthy vitamins, minerals, and essential nutrients. This site does a good job of summarizing some edible wilds and what they’re packed with.

If you live around Dallas-Fort Worth, I’m free on weekends and don’t mind sharing what I know. It’s not much, and I’m just starting my journey in foraging. This year alone I’ve found wild mulberries, grapes, dewberries, peaches, onions, and plenty of thistles and cat tails.

Recommended Reading

And Watching
Almost forgot to mention, Eat the Weeds is a good YouTube channel. The fellow, Green Deane, goes through a detailed explanation on each wild edible informing you about identification through preparation. There’s about 136 episodes at the moment and they are all wonderful.
Poi: Playing with Fire

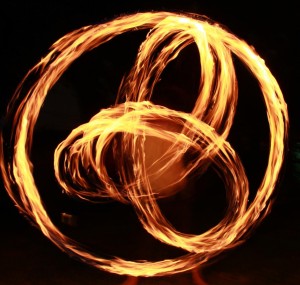
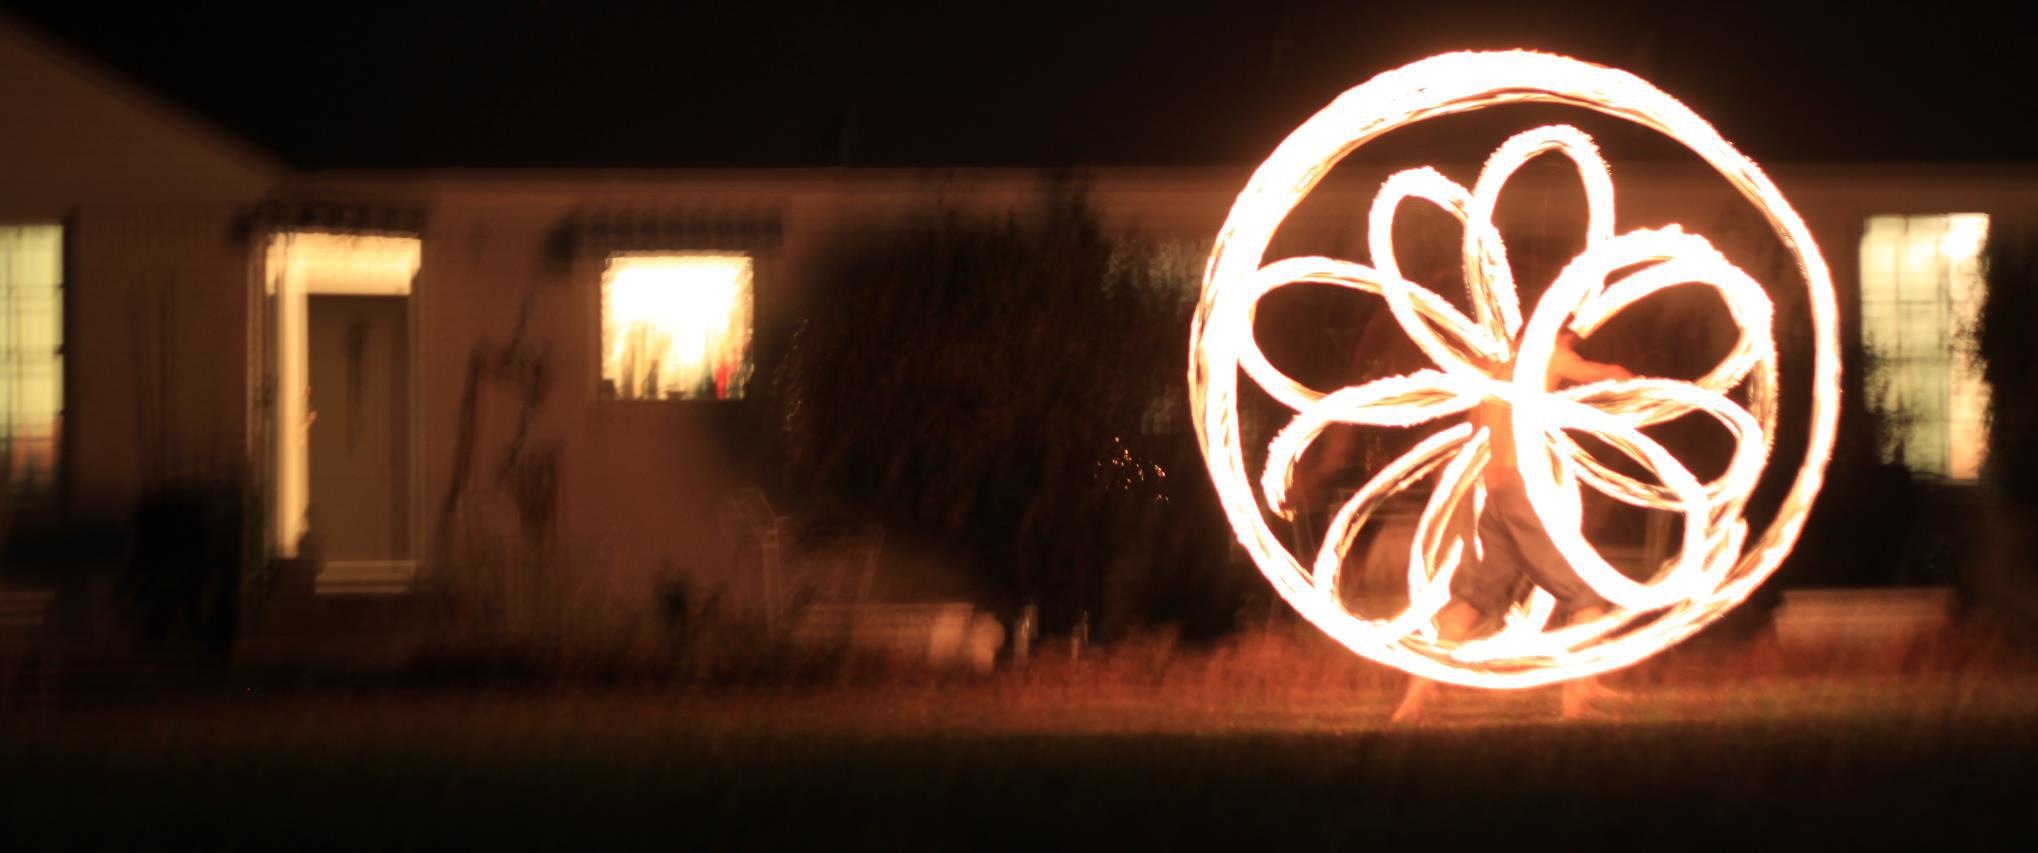
Triquetra                    Photo taken by               Isiac Ramirez

It began in the drug filled years of my teens. A few friends introduced glow sticks and ever since then I became fascinated with dancing with the luminescent objects. Evolution took its tole and eventually we attached ropes to them. At that moment, the beautiful lights became dangerous.

With vague memories of the previous night, I would wake up with bruises all over my body. Apparently, the beautiful display of lights results into self-mutilation the following day and rants from my friends who would tell me I would hit everything around me with spiraling glow sticks. It took me years to learn my lesson.

In 2010, I attended a camping trip with some friends at an event called Art Outside. The idea of dancing with fire was a familiar thing, but I never realized it was the exact same display of art. The major difference was that the artisan in between the flames or glow sticks was calm and collected. They knew exactly where the fire is and how to direct it. If it was me, I would’ve been on fire.

My fascination immediately ignited into a new passion; I had to spin fire.

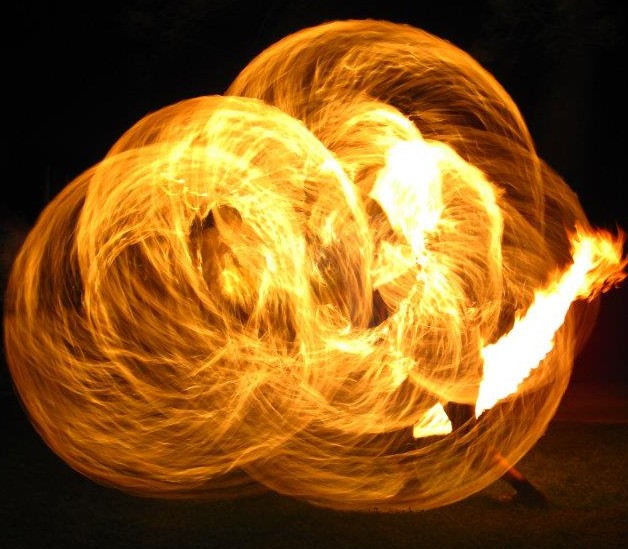
The light show bonanza is called poi. It originated in New Zealand from the indigenous tribe, the Maori, and that’s as far as I know about the history. Modern poi has taken their traditions and has been used with just about anything. You can use two socks with rice inside, tennis balls on strings, a rock, or whatever your imagination can combine with two ropes and two objects to spin around your body.

After Art Outside, I would spend time everyday with two tube socks and a bag of rice in each of them. The self-mutilation continued for a while and has slowly become a memory of the past. With each day, I would learn new tricks and techniques until I refined my own style. My progress in displaying poi also shifted the mental state of my initial fascination.

The want to spin fire changed into the desire to tame myself. Although the display for the public are spiraling meteors that twirl around your body, the dancer themselves don’t see the same display. The heat is more present to us than the show. To tame the element of fire required that a person first becomes conscious and aware of themselves and their surroundings. The last thing any fire dancer wants is to hit anybody or to change a tame fire into an uncontrollable flame.

The progression of the fire arts continued to transition who I am. Controlling my mind allowed me to think through my actions more thoroughly and realize how the poi was flowing from internal ideas into the reality of spinning flames. From that idea, poi translated into the co-creation of moving abstract thoughts into a particular direction in the material world; synonymous to moving my arms to direct the fire around my body.

And so, I realized it is the same with many if not all of the arts.
Tame the mind to co-create your ideas with the elements of the universe, otherwise, you may be playing with fire.

Life Design: Slow Learning and the Beauty of Hobbies

Half Dome

Every hobby is a journey with lots to learn along the way. Reading a book to accrue knowledge or creativity, gardening outside to grow beautiful flowers, cooking delicious herbs or scrumptious veggies, or just hiking up a hill to see the surrounding area around you. It’s all a pathway to finding new things about the world around, within, or somewhere near us.

At times, it’s hard to realize the steps required to reach the destination. It gets so easy to fixate on that pinnacle point of your potential. In this way, the journey becomes less meaningful and more destination oriented. It’s good to have goals, but creating the pathways to them are equally as important.

Half Dome
After finishing high school, my twin brother and I hiked up Half Dome in Yosemite Park. We were at the fresh age of 18. A few years beforehand, we visited the national park and saw that huge granite piece of rock. We both looked at each other and knew immediately we had to climb it. Somehow my parents remembered that key aspect of the trip and took us back.

It was a grueling 6 hour hike up and another quarter of a day back down. To me, we spent so much time walking and running up the mountain that at times we didn’t soak in the scenery around us. However, we knew we had a time constraint. We and my parents didn’t realize that we barely prepared to make the hike. We wore comfy tennis shoes, brought 3 bottles of water, and a few snacks. The only thing we made sure to do was wake up really early to get our day started. Our physical shape was over estimated as well. Even in our teenage years, we weren’t as fit as we thought.

With each way point along the trail, we thought we were almost there getting closer and closer. My focus was too intent on getting there. We finally reached the base of the dome and didn’t realize it was still another hour or two up.

Getting to the top turned out to be easier than I thought and not as satisfying. Although looking down into the valley was pretty cool. Getting down was another story. The physical force of gravity working with your legs and muscles created a harder impact. Our little teenage bodies had to absorb more force and continue that for another 8 miles down.

At the end of the hike, we made it. The 12 hour hike got the best of us though. My brother and I were debilitated for a few days and couldn’t enjoy the rest of the trip. We were burnt out and beaten down by ourselves.

Lessons Learned
Being over prepared at times can be a good thing but don’t get too fixated on all the details. Focus on the crucial and limiting factors. Take time to enjoy the experience. As you can pick up the pace do it at a rate that doesn’t destroy your mind, body of soul.

And Enjoy the Journey.

Fermentation: Cultivating Your Gut

It’s sad and I have to admit. I do not cook all the vegetables that I grow. Yes, it’s blasphemous. A lot of it ends up in the refrigerator to spoil or I give it away to people who may use it. Only god knows how much has ended in the compost heap or (tear) in the trash traveling wastefully to a landfill.

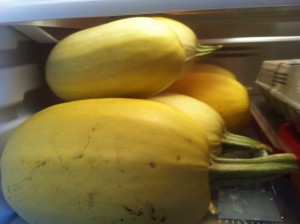
Squashed Out

This season’s harvest has been good, too good. And it’s only going to get better. The fear and despair of more waste has been mounting on me for some time now. In the hopes of forgiving myself, I’ve begun a new project, fermentation. It’s already happening in the fridge with all the rotting veggies. Only now, it’s a controlled rot that is good for you and the environment. The bacteria that grows with fermenting vegetables is probiotic, good for your digestion and stores without the use of refrigeration or electricity. In many ways, this method is easier, better for your health and safer than modern canning methods (there’s the risk of botulism from improper canning of vegetables ).

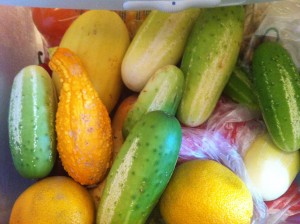
Cucumberrrss and Summercrook neck Squash

To begin the venture, I did a little reading online and decided I wanted something more substantial. Being a book geek, I ordered the latest and greatest book by Sandor Katz, The Art of Fermentation. The only word that comes to mind is ‘Ahh-mazing.’ I highly recommend it along with his previous book, Wild Fermentation.

If you wish to get started now though, all you need is unchlorinated water, veggies and a container. That’s it.

  1. Filter/boil your water if it has chlorine. Some areas use chloramine and the info online has been all over. Some say boiling doesn’t work. Others say it does. I don’t know, but Ft Worth does use chloramine and the filtered water is working just fine.
  2. Karate chop your veggies: Yes literally squeeze them to death or punch them. Cooking is violent and so is pickling. (It’s good for you and for the fermenting process.) This will break open those cell walls to allow for all your spices and water to easily penetrate into your vegetables. This equals more tasty pickles.
  3. Add salt and spices to your satisfaction. This step is not necessary, but I believe it tastes better and makes the process go much quicker. The salt will pull out all the juices from your garden produce and create a richer environment for probiotic communities.
  4. Drown the Veggies.Stuff it all in your container as much as possible and pour in your water to fill the container. This will create a richer anaerobic, oxygen-less, environment. These critters don’t need oxygen and they’ll out compete the ones that do. The veggies that are exposed to air may grow some mold on it, but that’s okay. More on that later.

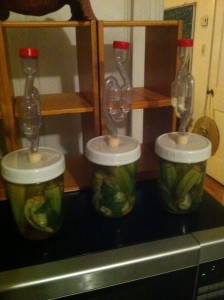
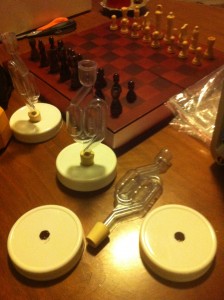
    Fermentation Jars with Airlocks

  5. Now, Put a Lid on It. You don’t want to screw the lid on too tight. Pressure will build up on the inside from build up of carbon dioxide. It’s a product from fermentation and it’s natural. If you want to get fancy you can make an airlock to prevent oxygen from getting back in. I’ve heard that it makes your veggies taste better so I opted to go this route without trying the other one.
  6. Wait a Week or Two or longer. Place the jar in an area that doesn’t get directsunlight. Ultraviolet rays from the sun will kill off the probiotic bacteria. From here, the job is slow and steady but it’ll taste amazing. In two weeks you can taste it for yourself and see how it is. After that it’ll store for as long as you don’t eat it.
  7. Continue to Experiment. Try new things and see what tastes good and what tastes best. The possibilities are endless. Some of the variables to think about are temperature, salt, light, types of vegetables, combination of vegetables, and of course your herbs and spices. Keep in mind fermenting in hotter areas will speed up the fermentation process but make your veggies more mushy. Colder temperatures will help to maintain the crunchiness of your veggies

Now for the big question, “Is it Safe to Eat?” You bet it is! Sauerkrat and many other fermented goodies all use the same or similar process. It’s been done for ages and there’s little need to worry about bad bacteria using these methods. If there’s a little mold growing on top just skim it off and everything below that is good to eat.

If you want to get fancy, you can build an airlock onto your lids to prevent as much mold on top. You can find resources here on how to make it yourself.

Now go Cultivate Your Gut.