Phase 1
The design of a wicking container consists of a few main components:
1. A Water Reservoir
2. A Container for the Plants
3. Overflow Valve and Watering Tube (optional)
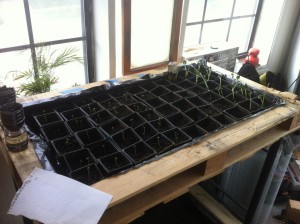
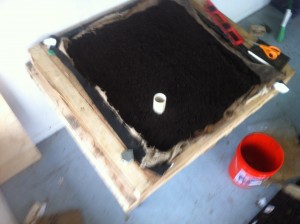
The first initial designs of the wicking propagator used reclaimed materials such as pallets, scrap wood, pvc, and old billboard tarps. The objective was to become familiar with wicking planters and if they could be utilized for seed starting and propagation of stems and leaves with the first initial designs.
The first wicking propagator (Fig 1) did not use a watering tube and is was difficult to gauge the amount of water in the planter. The second design had a watering tube but no overflow valve; so the amount of water put into the wicking bed had to be regulated by careful observation (Fig 2). They both worked by using the billboard tarp to prevent water from leaking, a cloth material as a wick and a separator of the potting soil above, and small pots that were sandwiched between the potting soil.
The Results
In a few days to a week (depending on the type of plant), the wicking propagator was in full swing. Seeds germinated and Stem cuttings rooted. Areas that were not completely covered with potting soil attracted mosquitoes. It was an overall success that required a few amendments. With the successful results called for a better design, the water table for the reservoir was not obvious potentially leading to overwatering, and planting proved to be tricky and time consuming. Later trials that used the billboard tarp were not successful. The tarp had tiny holes punctured into it that were not visible to the eye causing leaks and ruined lumber.
The few failures led to new designs and discoveries. Onward to Phase 2, upgrading.


